

Elementor Pro is a popular WordPress plugin that allows you to create professional-looking websites using a drag-and-drop interface. Here are the basic steps to create a website using Elementor Pro:

- Install and activate the Elementor Pro plugin.
- Choose a pre-designed template or create a new page.
- Once you have created a new page or chosen a template, click “Edit with Elementor” to launch the Elementor editor.
- In the editor, you will see a range of widgets and elements on the left-hand side. You can drag and drop these elements onto the canvas on the right-hand side to build your website.
- Use the toolbar at the top of the editor to customize the appearance of your website. You can change colors, fonts, and other design elements.
- Add new pages and sections to your website by clicking the “Add New Section” button. You can choose from different layout options, including columns, grids, and full-width sections.
- Preview your website by clicking the “Preview” button in the bottom left corner of the editor. Once you are happy with your design, click “Publish” to make your website live.
Install and activate the Elementor Pro plugin
To install and activate the Elementor Pro plugin on your WordPress website, you can follow these steps:
- Purchase a license for Elementor Pro from the Elementor website. You can choose from different pricing plans based on your needs.
- Log in to your WordPress website and go to the dashboard.
- Click on “Plugins” in the left-hand menu, and then click on “Add New.”
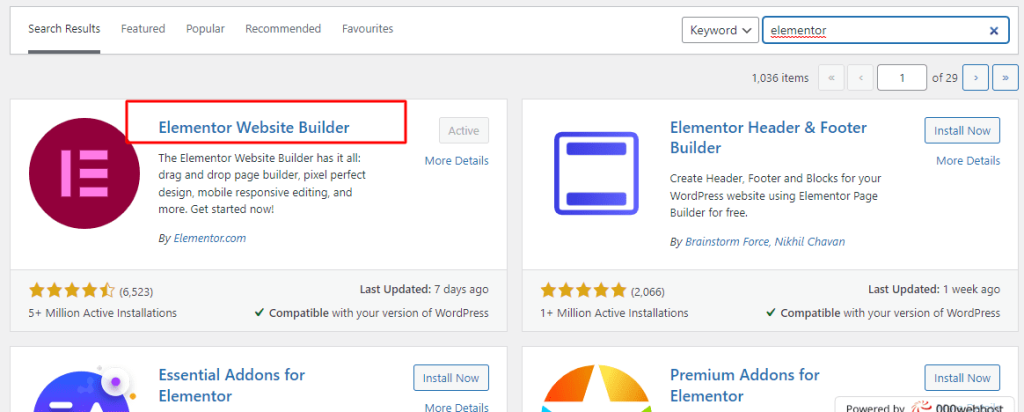
- In the search bar, type “Elementor Pro” and click enter.
- Find the Elementor Pro plugin and click “Install Now.”
- Once the installation is complete, click “Activate Plugin.”
- Next, go to “Elementor” in the left-hand menu, and click “License.” Enter your Elementor Pro license key, and click “Activate.”
- Elementor Pro is now installed and activated on your WordPress website, and you can start using it to design and customize your website.
It’s important to note that you need a self-hosted WordPress website to use Elementor Pro. If you are using WordPress.com, you will not be able to install Elementor Pro as it is a third-party plugin.

Choose a pre-designed template or create a new page
After installing and activating the Elementor Pro plugin, you can choose a pre-designed template or create a new page by following these steps:
- Login to your WordPress dashboard and click on “Pages” or “Posts” in the left-hand menu, depending on where you want to create the new page.
- Click “Add New” to create a new page or post.
- Give your page a title and click the “Edit with Elementor” button. This will open the Elementor editor.
- In the Elementor editor, you will see a range of pre-designed templates. You can browse through them and choose one that suits your needs. Alternatively, you can start from scratch by clicking the “Blank Template” button.
- Once you have selected a template, you can customize it by dragging and dropping elements onto the canvas on the right-hand side. You can also edit the text, images, and other content by clicking on them.
- Use the toolbar at the top of the editor to customize the appearance of your page. You can change colors, fonts, and other design elements.
- When you’re done customizing your page, click the “Publish” button in the bottom left corner to make it live on your website.
Alternatively, if you want to create a new page or post from scratch, you can follow the same steps above but choose the “Blank Template” option instead of selecting a pre-designed template. This will give you a blank canvas to work with, and you can add and customize elements as needed.
Launch the Elementor editor
Yes, once you have created a new page or chosen a template in WordPress, you can click “Edit with Elementor” to launch the Elementor editor. Here’s how:
- Log in to your WordPress website and go to the dashboard.
- Click on “Pages” or “Posts” in the left-hand menu, depending on where you want to create the new page.
- Click “Add New” to create a new page or post.
- Give your page a title, and then click “Edit with Elementor.”
- This will launch the Elementor editor, which allows you to design and customize your page using a drag-and-drop interface.
- You will see a range of widgets and elements on the left-hand side of the editor. You can drag and drop these elements onto the canvas on the right-hand side to build your page.
- Use the toolbar at the top of the editor to customize the appearance of your page. You can change colors, fonts, and other design elements.
- Add new pages and sections to your website by clicking the “Add New Section” button. You can choose from different layout options, including columns, grids, and full-width sections.
- Preview your page by clicking the “Preview” button in the bottom left corner of the editor. Once you are happy with your design, click “Publish” to make your page live.
That’s how you can launch the Elementor editor to start building and customizing your WordPress page.